
There are few things more satisfying than fixing a roof. Unless, of course, you happen to be standing in the rain while doing it. But fear not, with the right tools and knowledge, anyone can patch a roof like a pro. From identifying leaks to making sure your patch holds up through the next downpour, this guide will turn you into a roofing rockstar. So grab your toolbox, and let’s jump into the world of roof repairs, without the soggy socks.
Identifying Roof Damage
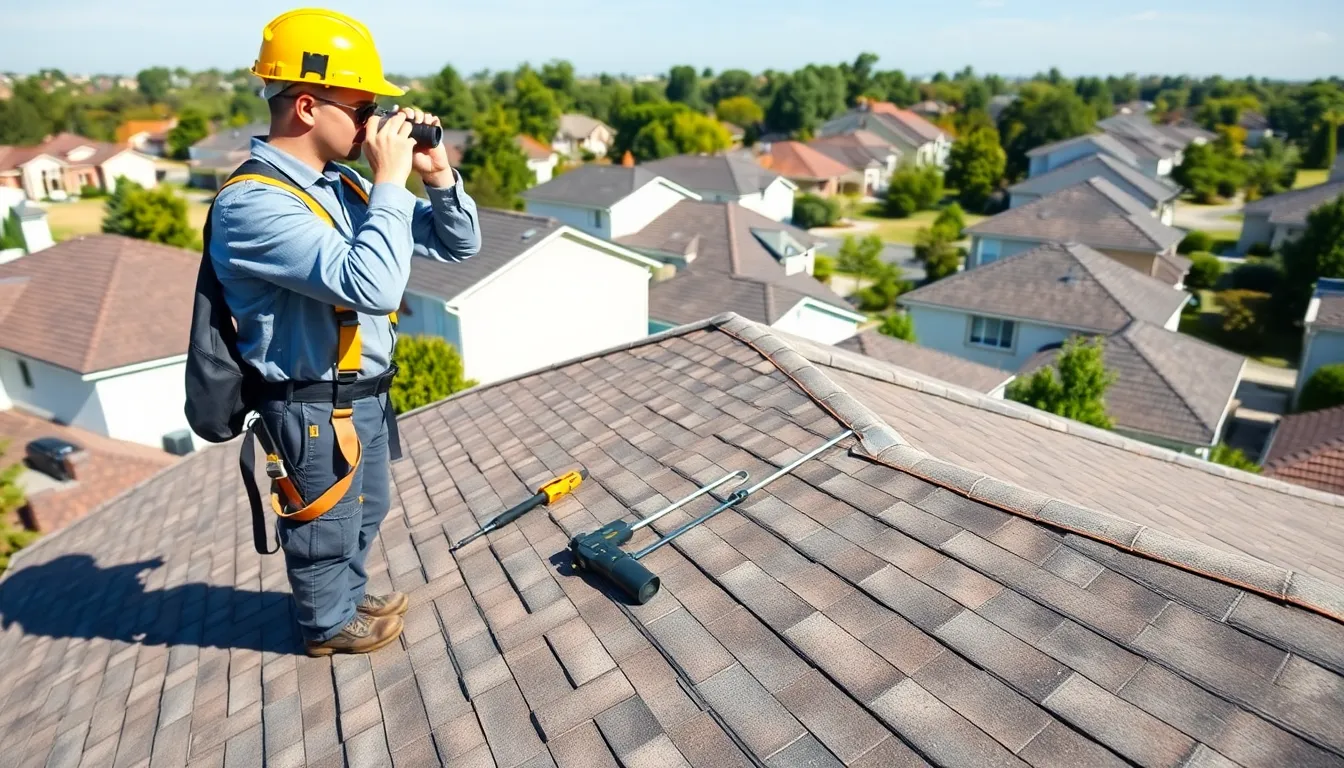
To patch a roof successfully, it’s crucial first to spot the damage hiding up there. Visually inspecting the roof can reveal a lot. Look for missing shingles, curled edges, or discolored areas, which often signal water intrusion. Don’t forget to check your attic, especially after heavy rain: any signs of water stains on the ceiling may indicate a problem.
When assessing the roof from the ground, binoculars may come in handy, check for any sagging or pooling of water in low areas. If you have a flat roof, look for blisters or bubbles: these can be a telltale sign of underlying damage. Identifying the type and extent of damage early on can save homeowners a fortune in future repairs.
Common Causes of Roof Leaks
Understanding why a roof leaks can help in preventing future mishaps. One common culprit is damaged or missing shingles, which expose the underlying material to the elements. Incorrectly installed flashing around chimneys or vents can also lead to leaks, as water finds its way past these seals.
Poorly maintained gutters might contribute as well: when gutters are clogged, water backs up and can seep under shingles. In areas susceptible to ice dams, the freezing and thawing cycle can lift shingles, creating gaps for water. Always keep an eye out for these issues before they escalate.
Safety Precautions Before Starting
Before jumping into roof patching, safety should reign supreme. Always wear appropriate gear, including sturdy shoes with good traction and a helmet if necessary. If the roof is particularly steep or high, using a safety harness is a smart move.
Ensure the weather is suitable for working, wet surfaces can be slippery. Use ladders with care: it wouldn’t hurt to have a buddy around just in case. Having someone to help can provide not only extra hands but also an extra set of eyes to observe potential hazards.
Materials Needed For Roof Patching
Gathering the right materials before starting is key. Depending on the type of roof, you might need roofing cement, sealant, or patches specifically designed for the roofing material you’ll be working with. Having additional items like a utility knife, a trowel, and a brush can help in the application process.
Don’t forget about safety gear and tools, including gloves and a reliable ladder. Collecting everything before climbing up ensures that you won’t have to make unnecessary trips back down.
Step-By-Step Guide To Patching A Roof
Now for the main event. Here’s an easy-to-follow guide to patch your roof.
- Locate the Damage: Once damage is confirmed, trim any loose edges of shingles or the patch area.
- Clean the Area: Use a brush to remove debris and dirt, ensuring the patch adheres well.
- Apply Roofing Cement: Spread a layer of roofing cement onto the damaged area.
- Position the Patch: Lay the patch down firmly on the cement, applying additional cement around the edges to seal it securely.
- Seal the Edges: Make sure the edges are well sealed to prevent water from infiltrating.
- Test the Patch: After it’s cured (usually a day), do a quick inspection to check for leaks, conduct a light spray with water from a hose to mimic rain.
Maintaining Your Roof After Patching
Patching the roof is only part of the battle: maintenance is essential. Regularly inspect your roof, especially after severe weather. Clean out gutters to avoid water backing up, and check for signs of mold or mildew that might signal prolonged moisture exposure.
Depending on your roof material, applying a protective sealant can add an extra layer of durability. Staying proactive not only prolongs the life of your roof but also saves money in the long run.
When To Call A Professional
Sometimes, DIY isn’t the answer. If the damage is extensive, or if you feel uncomfortable working on your roof, it’s time to call a professional. Significant leaks that have compromised underlying structures may need more than just a patch. A roofing expert can assess the situation accurately and provide a lasting solution.
Also, if multiple areas are affected, or if you’ve already made repairs that haven’t held up, professional assistance can save time, money, and possibly your roof.


