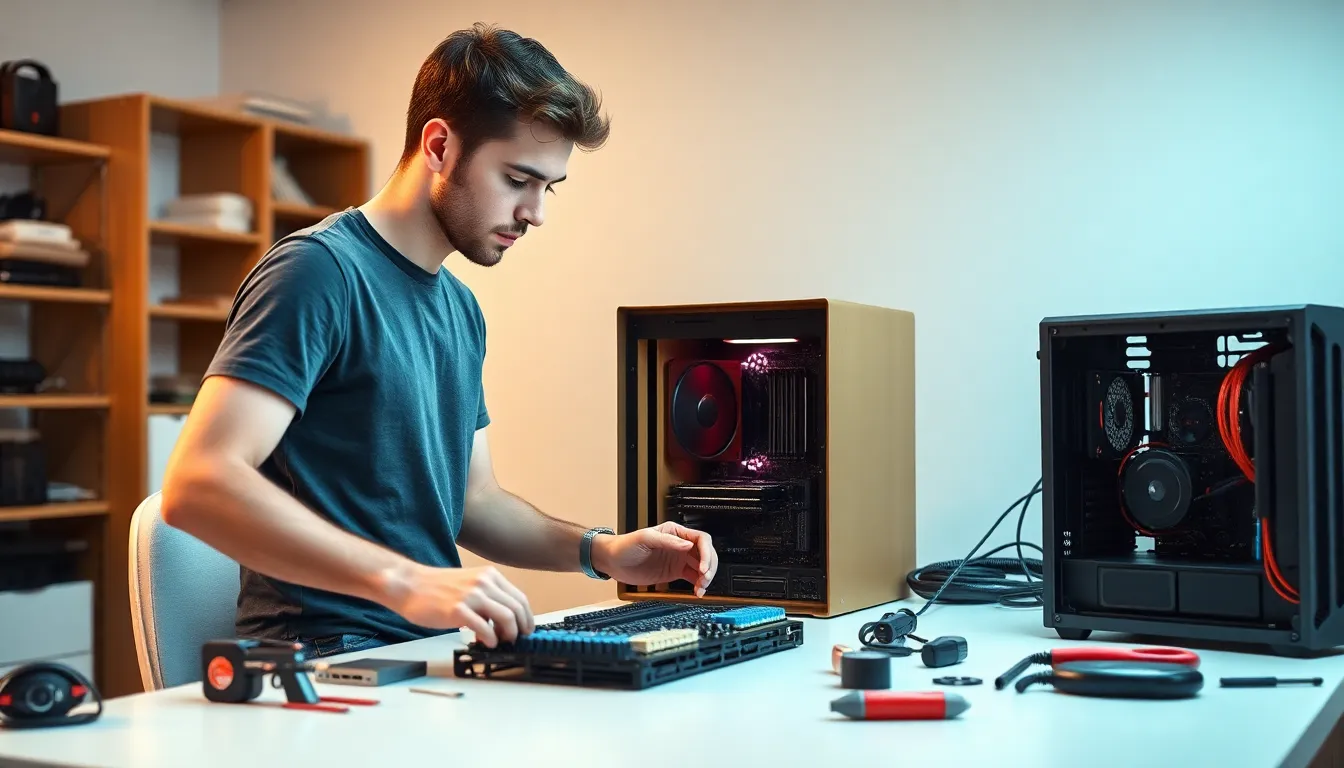
Building a PC might sound like a daunting task, but it’s easier than trying to explain the rules of cricket to an American. With a little guidance and the right components, anyone can create their dream machine. Imagine the satisfaction of assembling a powerful beast that’s tailor-made for gaming, streaming, or even just browsing cat memes at lightning speed.
Forget the overpriced pre-built systems that come with features you’ll never use. Building your own PC not only saves money but also gives you the freedom to customize every detail. Plus, you’ll get to impress your friends with your newfound tech-savvy skills. So grab your tools, roll up your sleeves, and let’s dive into the exciting world of PC building—where the only limit is your imagination (and maybe your budget).
Understanding the Basics of Building a PC
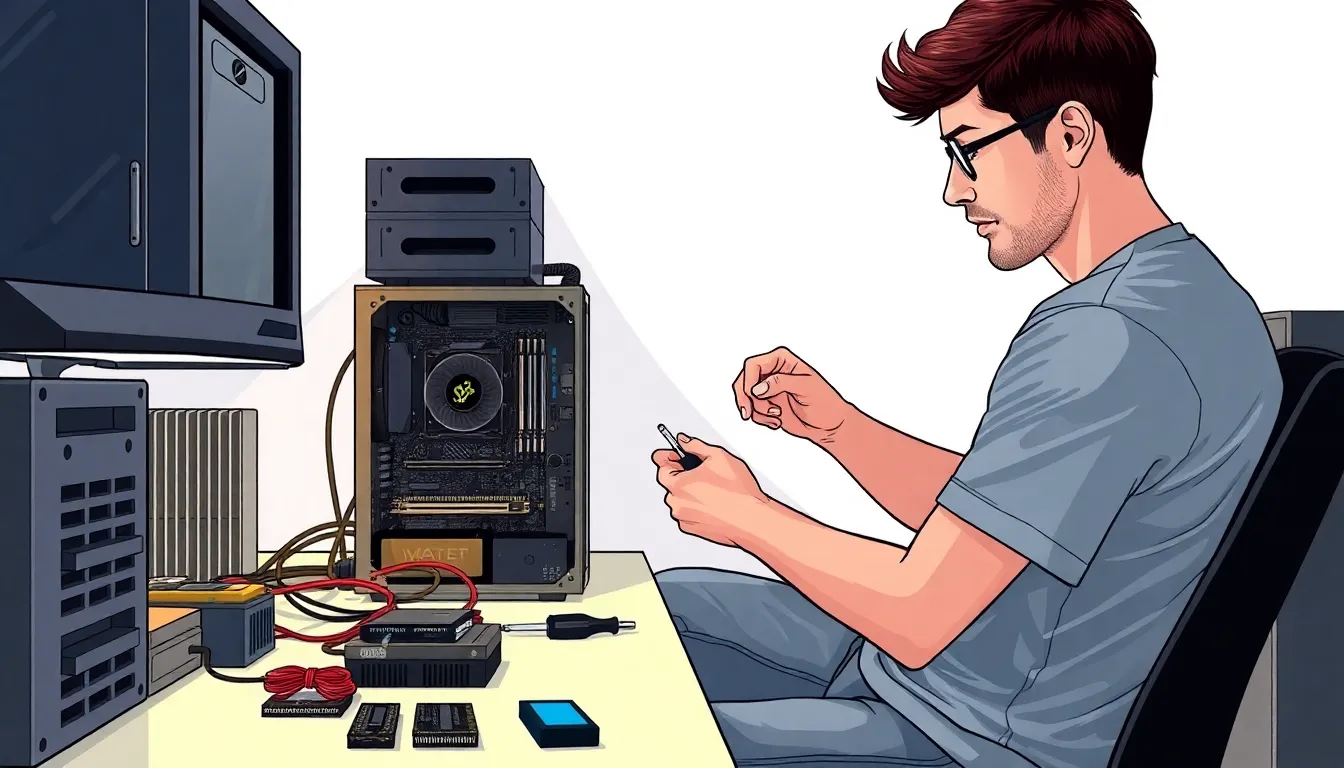
Building a PC involves understanding its essential components and the tools necessary for assembly. Knowledge in these areas simplifies the entire process.
Components Needed
Start with a central processing unit (CPU) for processing tasks. Follow this with a motherboard for connecting components. Every build requires random access memory (RAM) for temporary data storage. Additionally, a graphics processing unit (GPU) enhances visual performance for gaming or design. Storage options include solid-state drives (SSD) or hard disk drives (HDD) for data storage. Lastly, a power supply unit (PSU) ensures power distribution to components. All these parts work together to ensure system functionality.
Tools Required
A screwdriver set is essential for securing various components. Use antistatic wrist straps to prevent static damage during assembly. Cable ties help manage cables and improve airflow within the case. Furthermore, a flashlight or work light aids in visibility within the PC case. Having thermal paste on hand is crucial for optimizing heat transfer between the CPU and cooler. Each of these tools contributes to a smoother and more efficient building experience.
Step-by-Step Guide to Building a PC
Building a PC involves several methodical steps. Each step ensures that components integrate seamlessly for optimal performance.
Preparing Your Workspace
Clear a designated workspace, ensuring ample room for all tools and components. Gather essential tools like screwdrivers, cable ties, and thermal paste. Organize parts to streamline the assembly process. That setup minimizes clutter and reduces the risk of losing small items. Ensure good lighting to aid visibility when handling intricate parts.
Installing the CPU
Begin by opening the CPU socket on the motherboard. Align the CPU correctly with the socket using the notches as guides. Gently place it in, avoiding any force. Lock the CPU in place following the manufacturer’s instructions. Apply an appropriate amount of thermal paste on the CPU surface if required, preventing overheating during operation.
Adding the RAM
Locate the RAM slots on the motherboard. Open the clips on both sides of each slot. Align the RAM stick with the notch in the slot for proper insertion. Push down firmly until the clips snap back into place. Repeat for additional RAM sticks if needed, ensuring maximum compatibility and capacity for performance.
Installing Storage Devices
Identify the storage device type, either SSD or HDD. Secure the drives into their designated bays within the case. Use screws or tool-free mounting options based on case design. Connect the SATA cables from the drives to the motherboard, ensuring a stable connection. Maintain a clean arrangement to improve airflow and organization.
Motherboard Installation
Position the motherboard into the case, aligning it with the standoffs. Ensure the I/O ports align with the back panel cutout. Secure the motherboard using screws to hold it firmly in place. Check the alignment to avoid accessibility issues with ports and slots. Double-check each screw’s tightness for a stable installation.
Power Supply Setup
Install the power supply unit (PSU) at the designated area in the case. Ensure the fan orientation allows for proper airflow. Connect all necessary cables from the PSU to the components, including the motherboard, GPU, and storage devices. Secure cables with ties to prevent interference with airflow. This setup promotes stability and efficiency during operation.
Connecting Cables
Connect all necessary power and data cables, ensuring proper routing for a tidy appearance. Attach power cables to components carefully, making sure each connection is secure. Route data cables to reduce clutter, optimizing airflow within the case. Double-check connections to confirm that each component receives power correctly. This final step ensures a fully operable system ready for testing.
Common Mistakes to Avoid
Building a PC can be exciting yet challenging. Avoiding common pitfalls ensures a smoother experience.
Overlooking Compatibility
Ignoring compatibility between components leads to major issues. The CPU must fit the motherboard’s socket type, and the RAM should match the motherboard’s specifications. Graphics cards require adequate power and space in the case. Checking the wattage of the power supply unit is crucial as well, since each component consumes specific amounts of power. Always consult compatibility lists or manufacturer specifications to verify support for chosen parts. This helps minimize the chances of assembling a system that won’t boot.
Neglecting Proper Cooling
Overlooking cooling systems can cause overheating problems. Each component generates heat, particularly the CPU and GPU. Installing adequate cooling solutions like air coolers or liquid cooling is necessary to maintain optimal temperatures. Ensuring good airflow in the PC case with strategically placed fans promotes better circulation. Regularly checking dust levels helps maintain performance. A well-cooled system enhances longevity and reliability, so prioritizing cooling at the build stage pays off in the long run.
Finalizing Your Build
After assembling the components, the next steps involve booting up the PC and installing the operating system. These final tasks are essential to ensure that the built system functions effectively.
Booting Up Your PC
Initial power-up tests the connections and allows the PC to recognize its components. Press the power button and watch for signs of life, such as fans spinning and LED lights illuminating. If the machine doesn’t respond, confirm that all power cables are securely connected. Accessing the BIOS or UEFI is vital at this stage; these interfaces allow checking settings like CPU speed and RAM configuration. Users may need to adjust boot priorities or enable XMP profiles for optimal performance. Successful booting at this point signifies a correct assembly, paving the way for the next steps.
Installing the Operating System
Installing the operating system requires a bootable USB or DVD. When powered on, the PC should recognize the boot media. Following on-screen prompts leads to partitioning, formatting, and choosing installation locations. Selecting the appropriate drive for the OS is crucial for performance. Users must create an account, set preferences, and update drivers once the installation completes. Installing necessary software afterward ensures the system functions according to individual needs, enhancing the overall user experience.
Building a PC is an empowering journey that opens up a world of customization and creativity. It’s not just about assembling parts; it’s about crafting a machine that meets individual needs and preferences. By following the outlined steps and being mindful of compatibility and cooling solutions, anyone can create a reliable and efficient system.
The satisfaction that comes from successfully building a PC is unmatched. It’s a chance to showcase technical skills while enjoying the benefits of a personalized setup. With patience and attention to detail, the process can be both enjoyable and rewarding. Embrace the challenge and unlock the potential of a custom-built computer.


